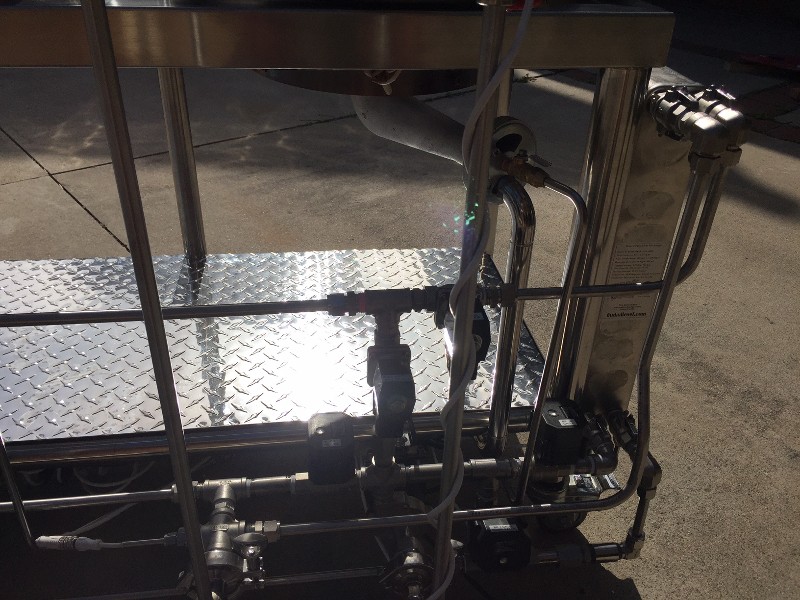
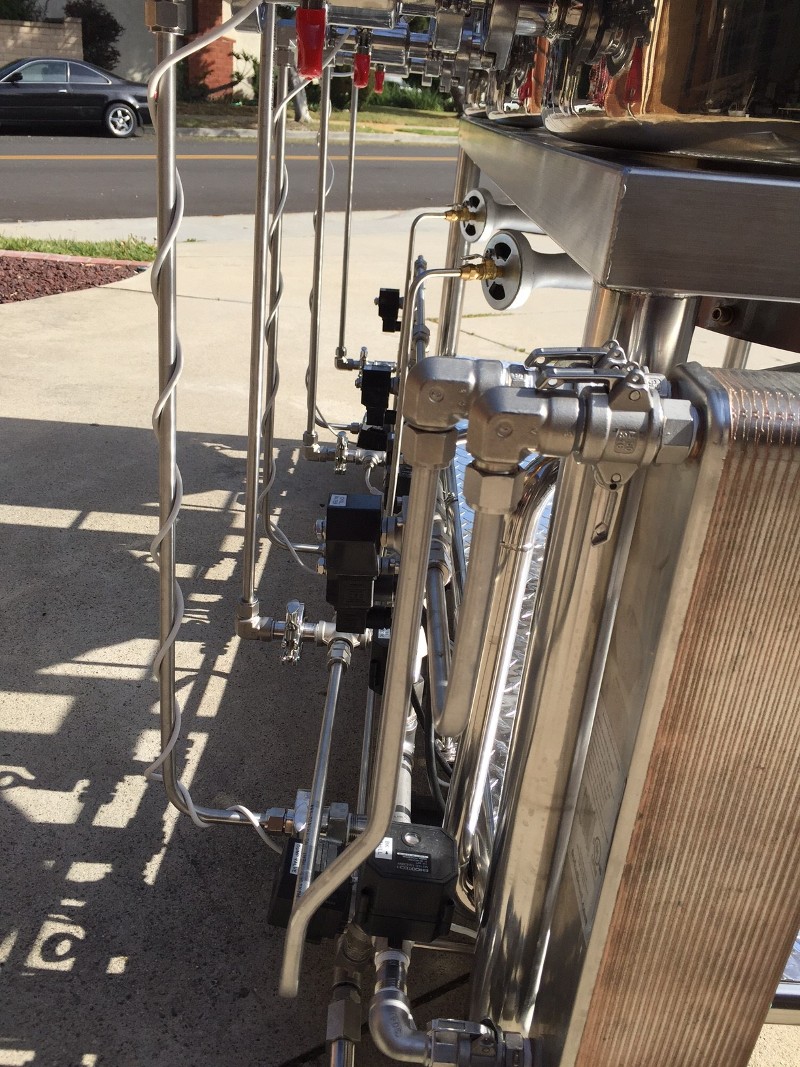
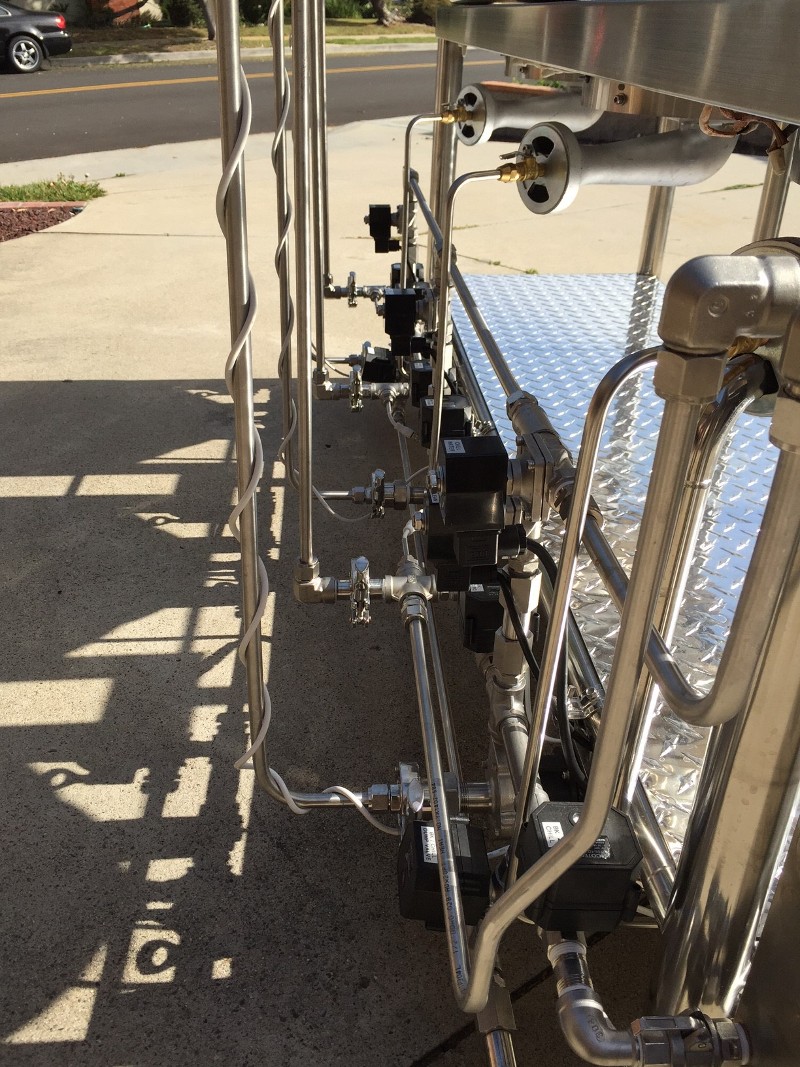
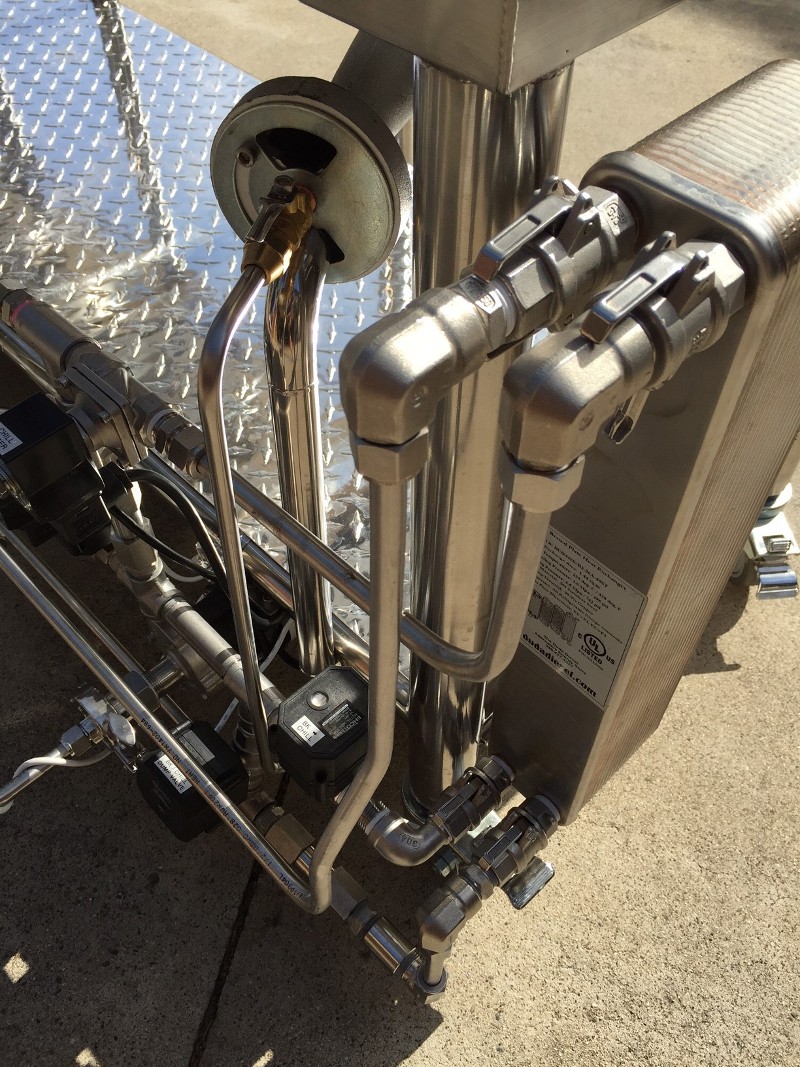
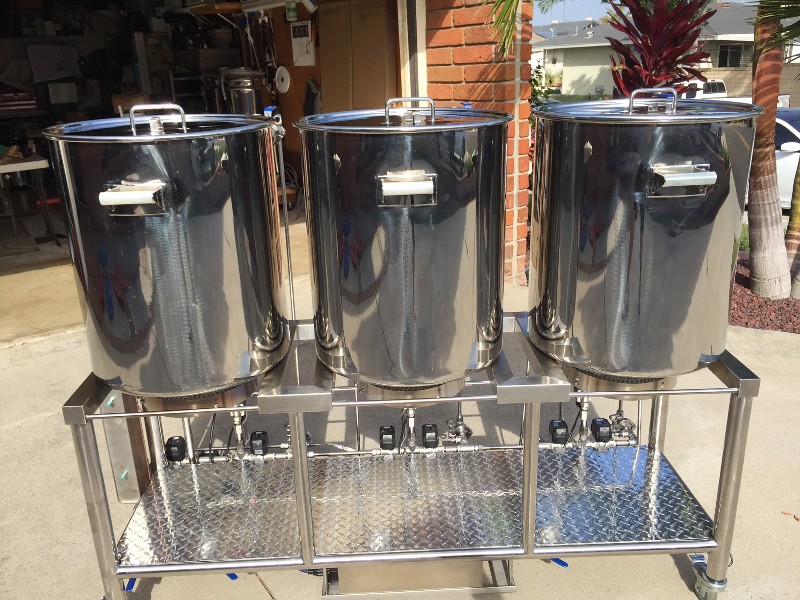
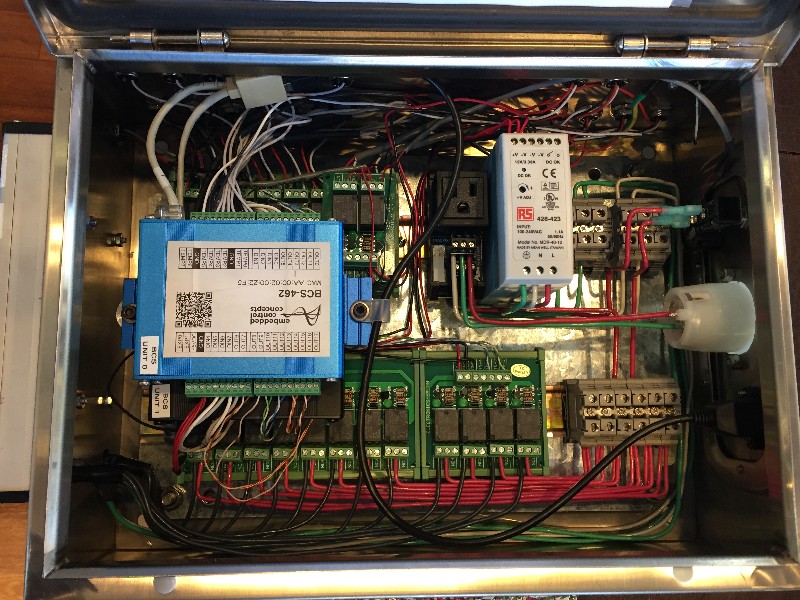
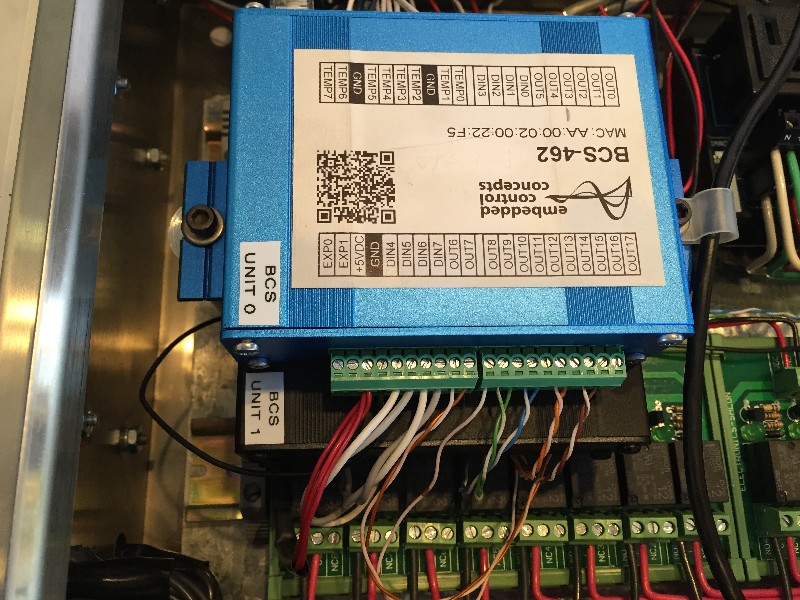
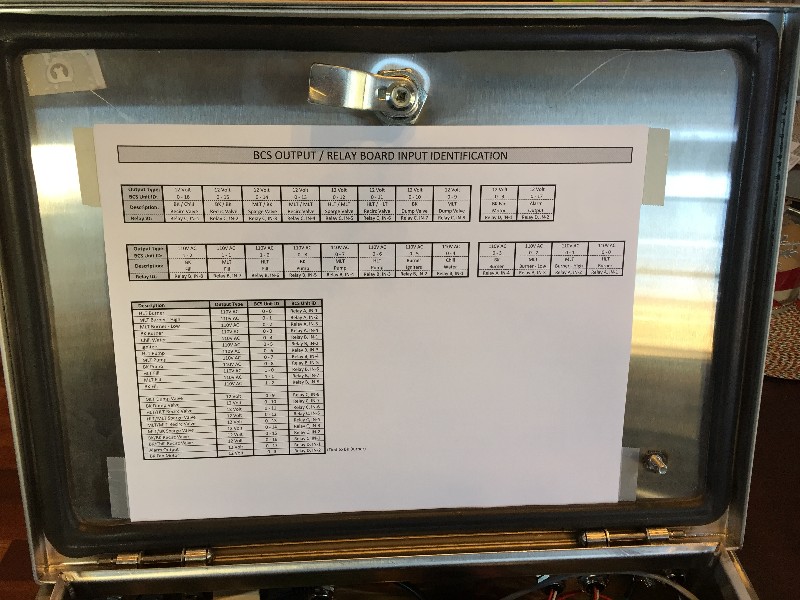
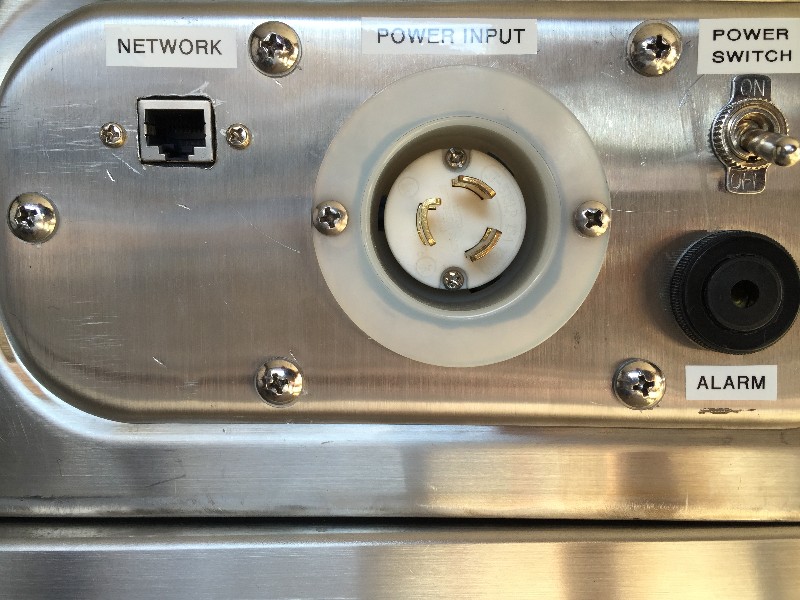
OK, my first brew day is done on the new rig, so it is time to unveil it! February 14th, 2016 marked my 99th and 100th batches of all-grain brewing and the first two batches on my latest creation.
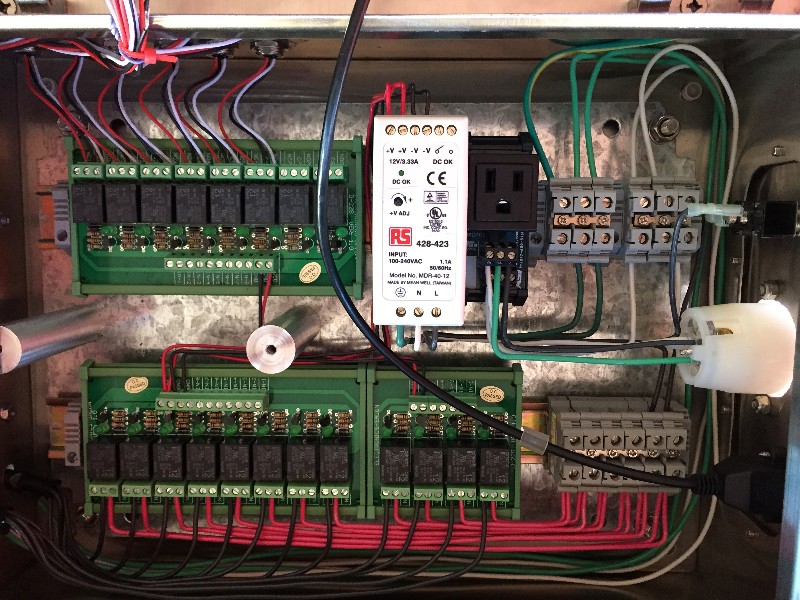
Many of you have seen my old system that was a fairly automated BCS-462 based system:
http://forum.embeddedcc.com/viewtopic.php?f=16&t=342
http://www.homebrewtalk.com/showthread.php?t=204705
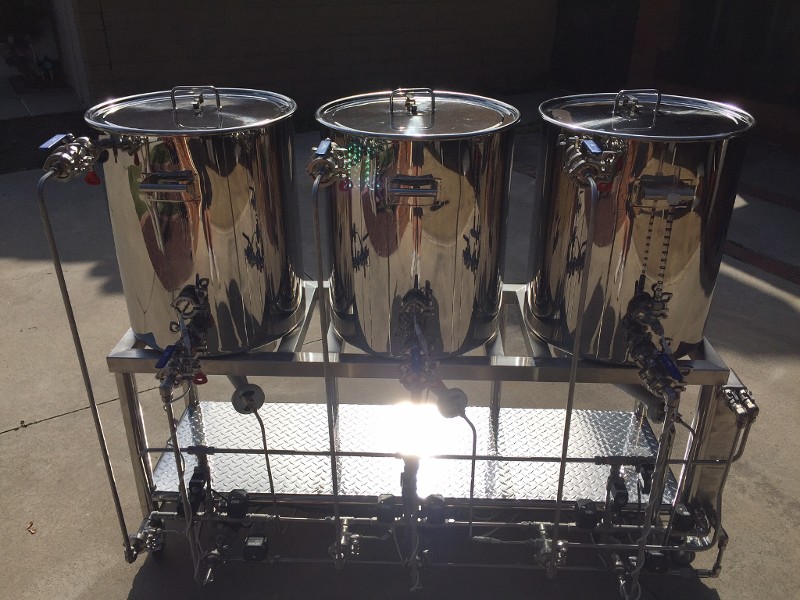
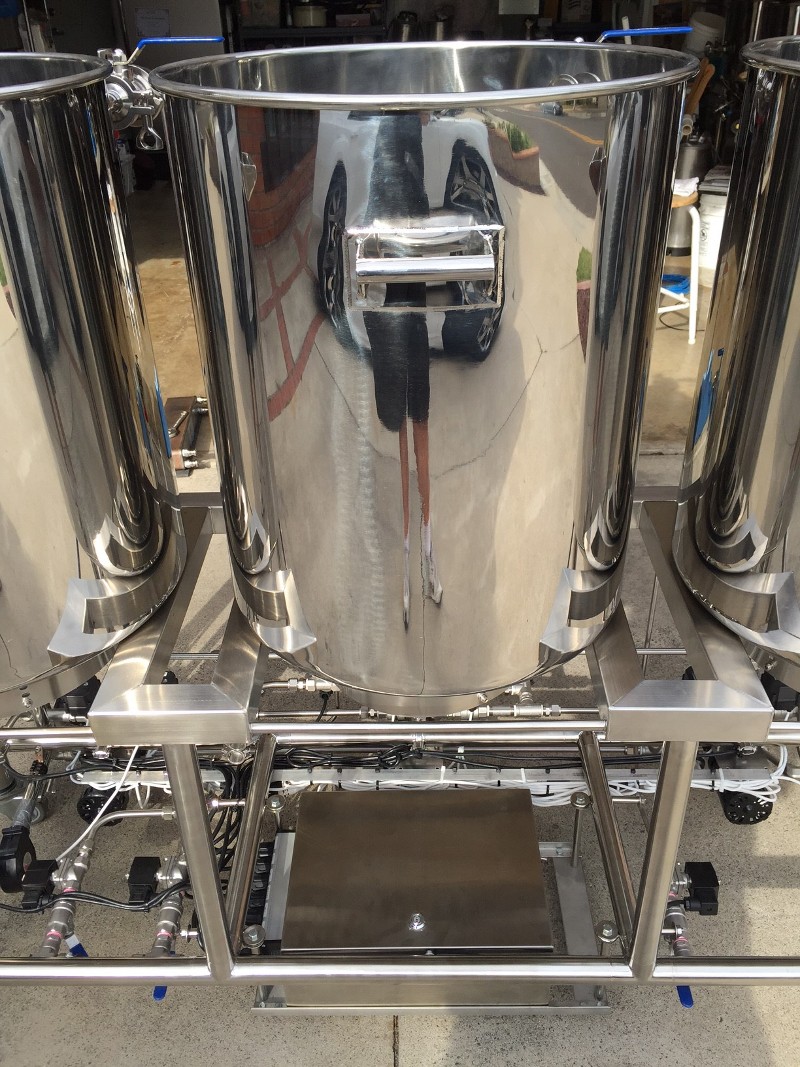
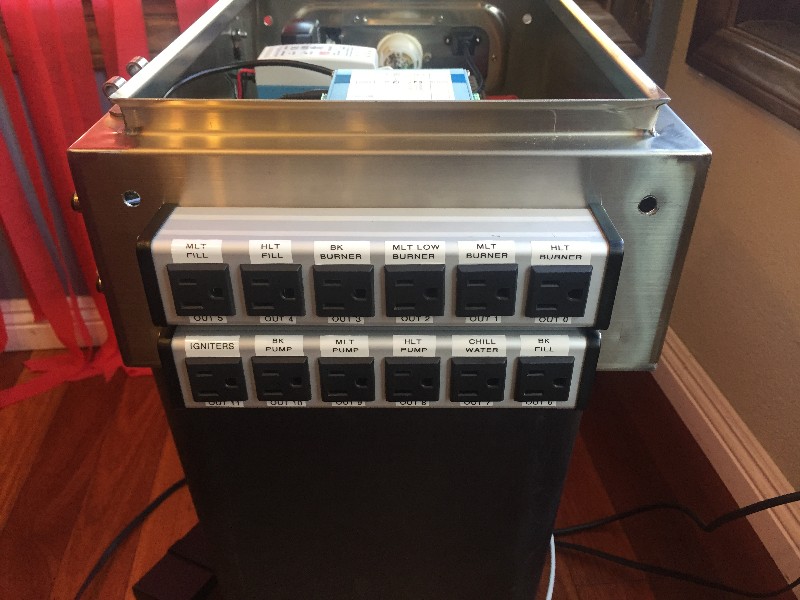
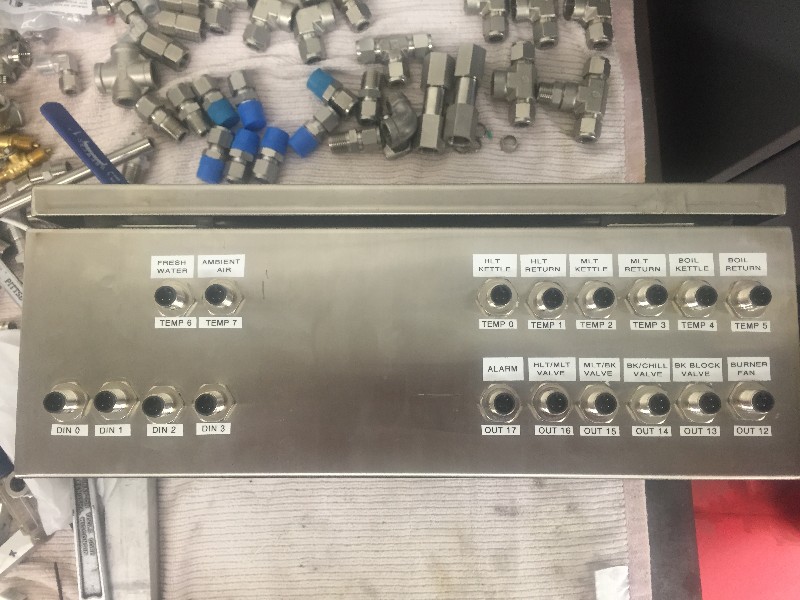
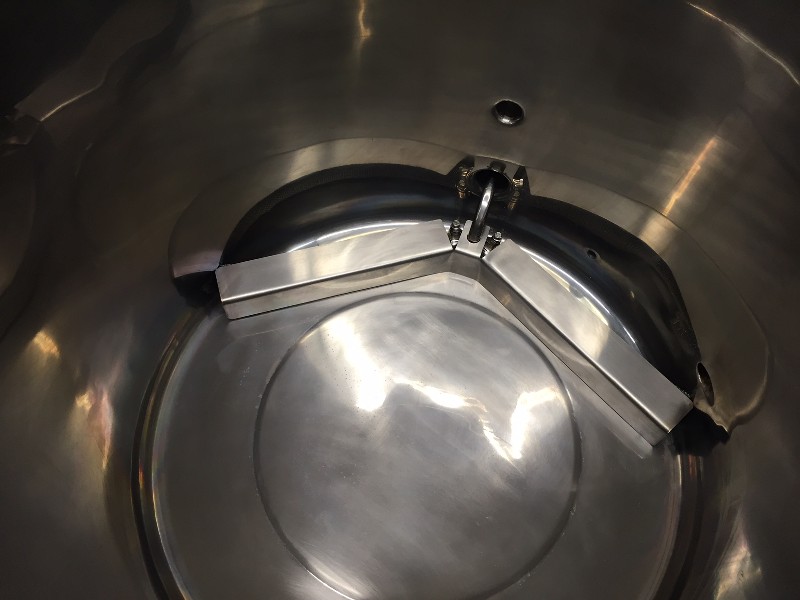
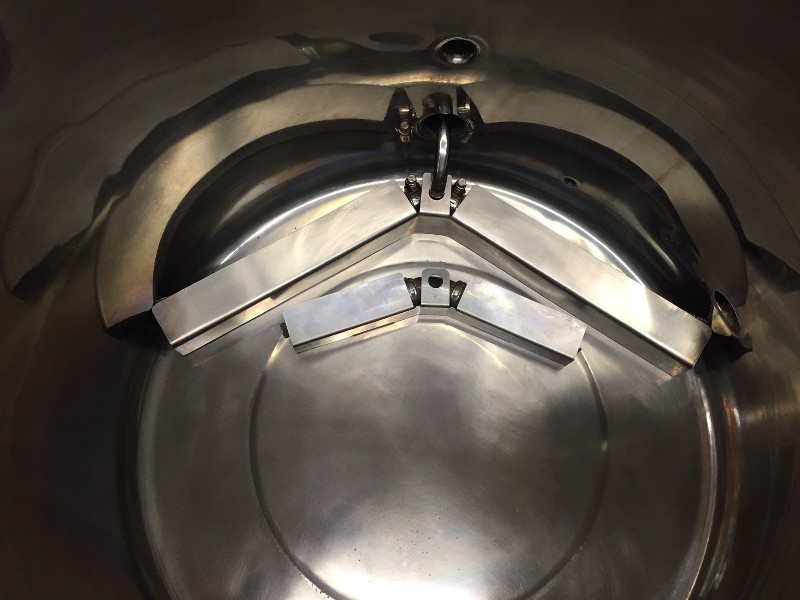
My new system builds on many of the design elements of my previous system. The BCS was definitely still going to be the core of my automation and I had also planned on still using the same basic logic for liquid flow and plumbing. My first major item to upgrade though was the use of a custom stainless frame from Brewers Hardware. My last rig/frame was built with an 18” footprint for the kettles, but I needed a bit more space for the Brewers Hardware 30 gallon kettles that I selected for this build and that required a frame that would support a 20” footprint kettle. Brewers Hardware wasn’t doing a frame this size as a standard offering, so I drew up some specs and between us, we settled on a final design. As you’ll see in the pics, I also had them do some custom welded pieces as brackets for hose and plate chiller attachments.
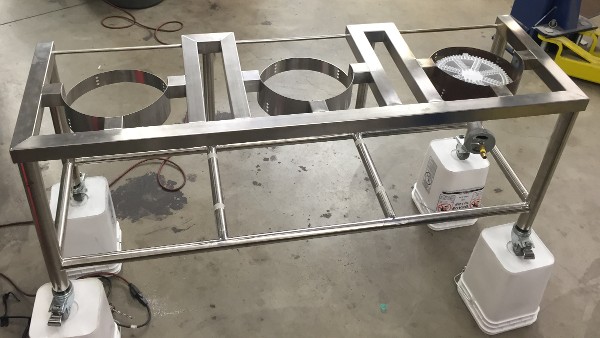
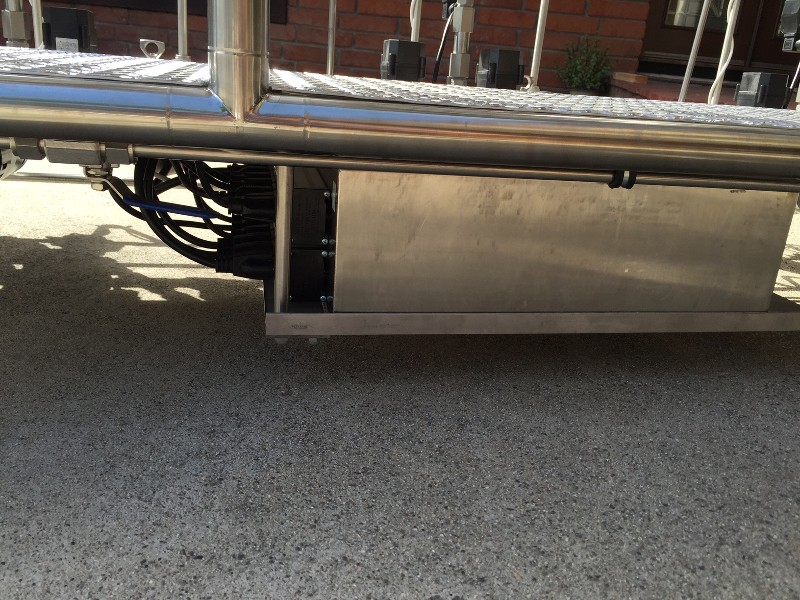
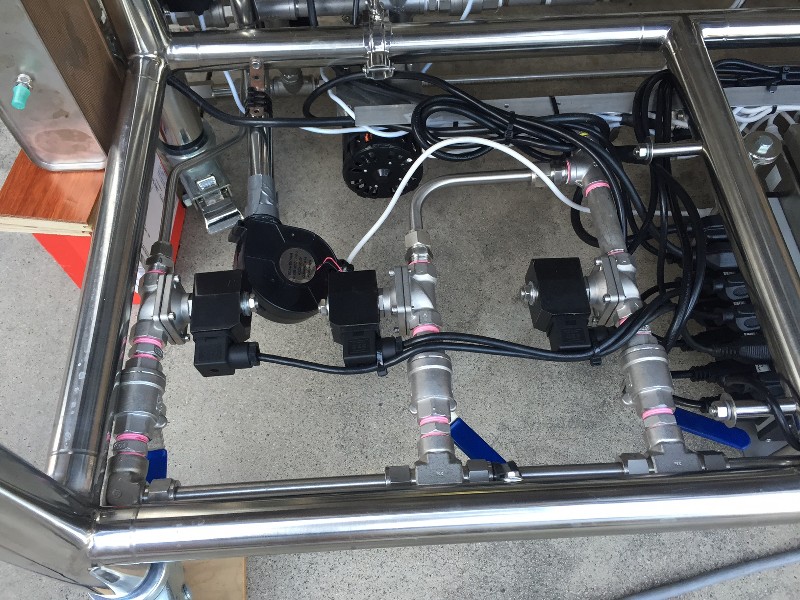
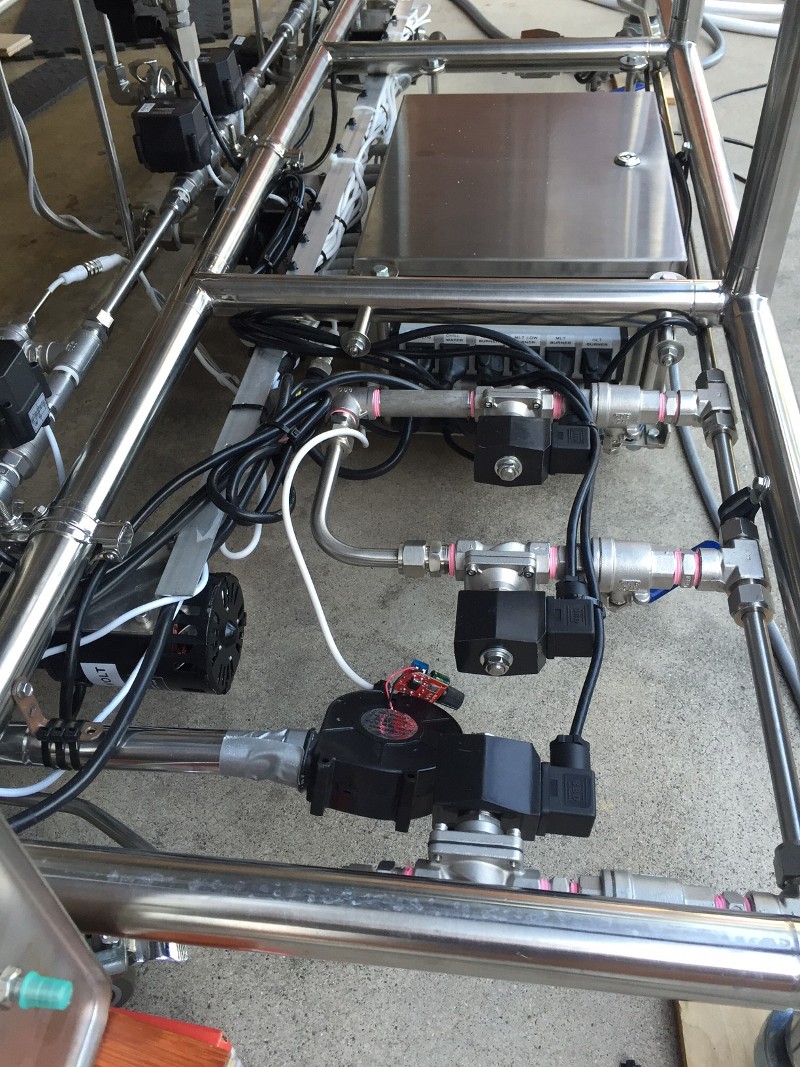
The design of the frame was also done utilizing the SS windscreens and BG14 burners that Brewers Hardware offers. As much as I liked the performance from my previous wok/jet burners, I just couldn’t take the noise any longer. I wanted to use the BG14 style burners for a near silent running system. Because I’m on natural gas and the BG14 burners work on such a low velocity of NG, these burners do struggle with higher volumes of liquid (my pre-boil volumes are 20+ gallons). One thing that I noticed in my burner testing was that the BG14 burners have a hard time drawing in enough air to fully combust the available natural gas. If you run them wide open, you’ll usually end up with large yellow flames whipping out from under the kettles which then means you need to turn the burners down to get a cleaner burn. I started looking at what I needed to do to utilize a full, wide-open flow of natural gas and get a complete, clean combustion with it. The natural answer is that if you want to burn more fuel, you need more air, so I started looking at options to increase the air flow to the burner. As you’ll see in the pictures, my BK burner is now equipped with a 1” SS tube that feeds into the venturi opening of the burner. On the other end of the tube (located below the stand) is a 12V 20CFM blower fan. This blower supplies a forced air feed into the burner to allow full combustion of the natural gas flow when the NG gas valve is wide open. This resulted in an almost doubling of the BTU output of the burner. Some discussion of this is in a thread I started last summer: http://www.homebrewtalk.com/showthread.php?t=538762
One other issue that bit me a couple of times on my old NG system was that I would run the burners wide open when heating strike water, but then I’d forget to turn the gas down when I wanted a light application of heat during the mash recirculation process. While I’ve only scorched wort on one batch, I have had a few times where I had spiked my mash temp because the burners just apply too much heat when on high. So, for this build, I figured I’d just add two gas valves to feed the MLT burner and I could have one set on high and one on low and my processes in the BCS would automatically switch between them meaning that I no longer needed to readjust the burner. I was quite happy with the solenoid valves I used on my old system, so I decided to use the same style again. The only real difference I wanted this time was to use the SS versions instead of brass just because I was doing everything in SS. I had previously used VALVES4PROJECTS which is an Ebay store that’s been around several years now and many homebrewers have used their valves with great success (stores.ebay.com/valves4projects). As I looked at their offerings though, I noticed that their low pressure valves had one style of solenoid actuator on it and their high pressure valves had what I thought was a nicer, cleaner looking actuator on it. I fired off an e-mail to Valves4Projects to inquire if the solenoid actuators were compatible and if I’d be able to order the low pressure valves, but with the actuators on them from the high pressure versions. I got back a very prompt response that they would be happy to custom configure the valves I wanted. Awesome! Not only did I want to use their solenoid valves for gas, but I also wanted them for fresh water filling (more on that later), so I ended up with a total of 8 SS 110/120VAC solenoid valves. I got great service from Valves4Projects and they stock and ship from the US which makes them my go-to place for these valves.
For the liquid flow/recirculation part of things, I utilized an almost identical design to my last system. It is a 3 pump, automated valve setup that facilitates moving water/wort between the kettles without the need to do any hose changes during the brew day. This design has proved very good for recirculation of each kettle as well as the fly sparging process. Since I still almost always do two batches on each brew day, the 3 pumps helps greatly by allowing me to whirlpool and chill batch #1 in the BK while I’m doing continuous recirculation on the HLT & MLT for batch #2. You don’t want to use solenoid valves where sticky wort is involved, so when I went to search for the required 12V automated ball valves, I was pleasantly surprised to see that Valves4Projects had also added those type valves to their lineup. Having dealt with a few Chinese companies over the years, I was quite happy to have a US based company supplying these.
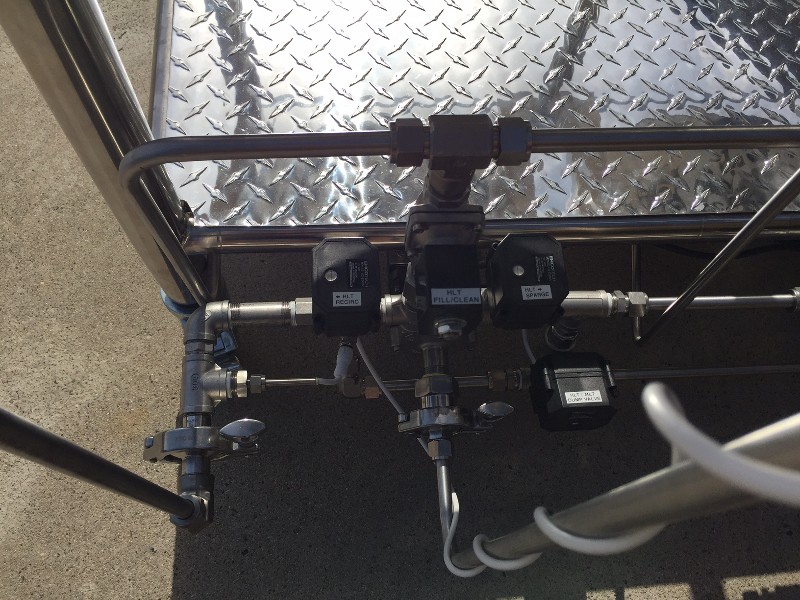
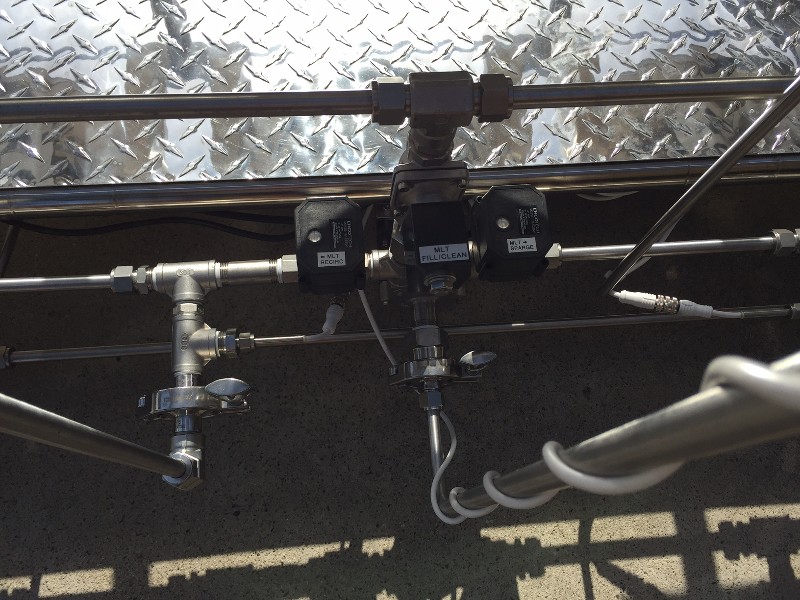
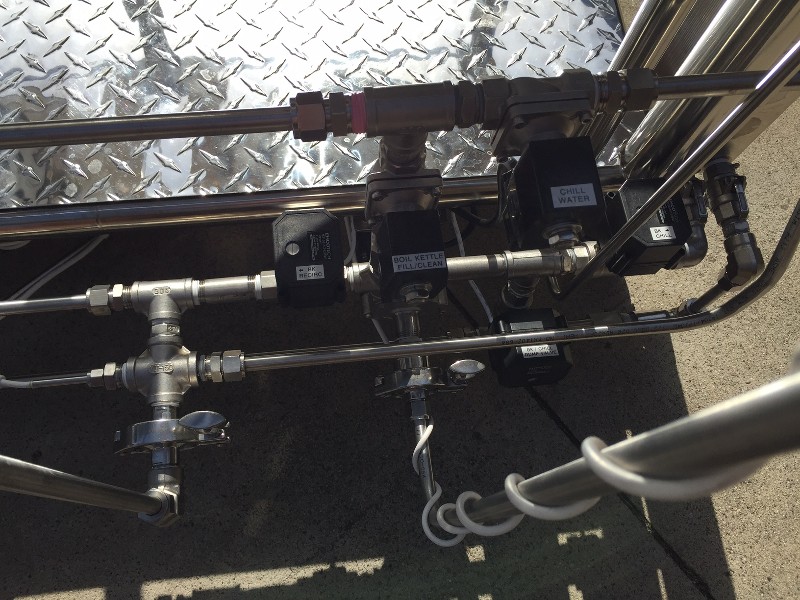
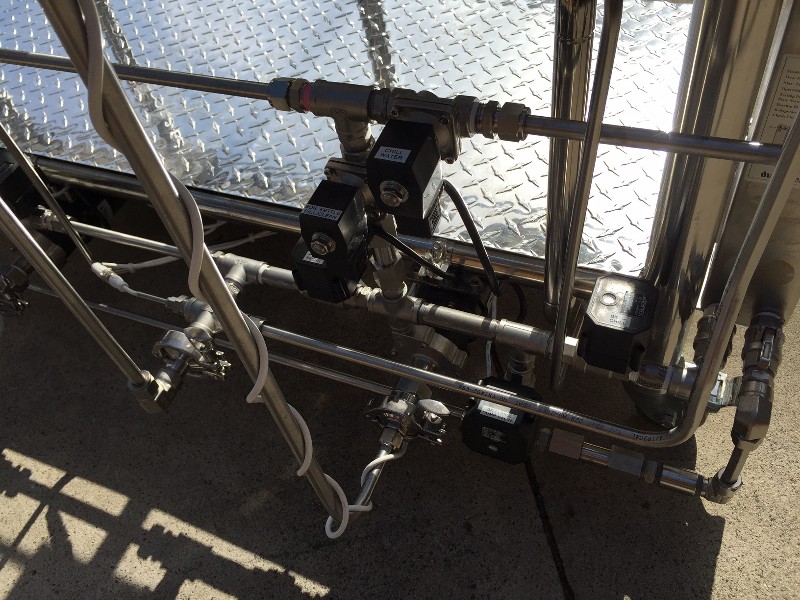
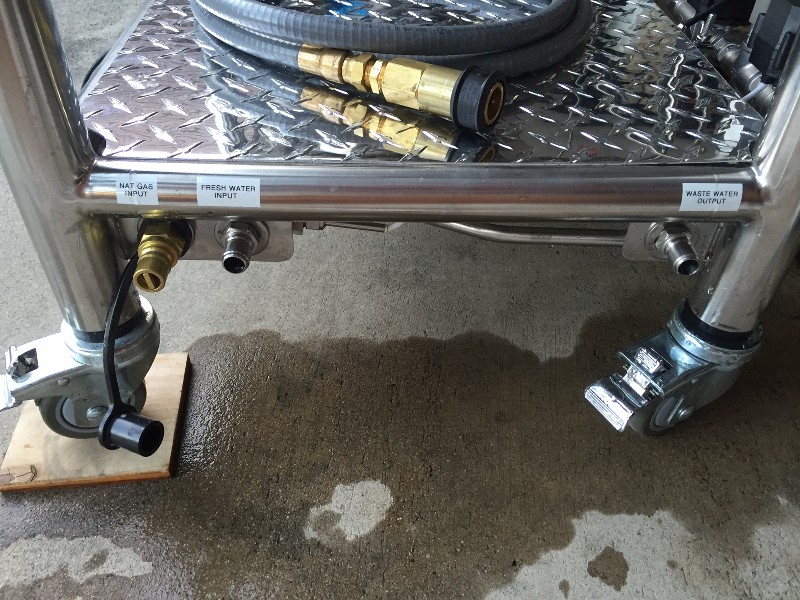
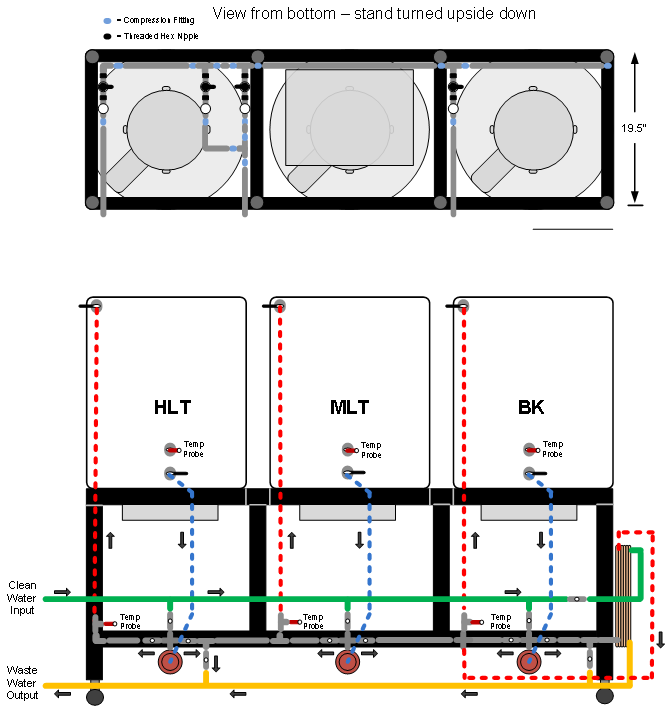
In addition to using the same basic liquid flow, valve/manifold configuration, I wanted to build upon this to add the ability to directly fill the kettles with filtered fresh water for strike and sparge volumes and to also utilize the fresh water input for CIP purposes. I added this feature by changing the fitting at the pump output from a “T” to a “+” cross fitting that allowed the input of fresh water directly to the pump. This allowed me to feed the water not only through my kettle return plumbing, but also backwards through the pump to the kettle output valve/dip tube. In addition, I added another fresh water feed valve for the plate chiller so that I could automatically trigger the chill cycle. This also gives me the simple ability to do a partial chill to a set temp like 180 so that I can then do a whirlpool/hop stand at a lower than boiling temp. If you’ve looked at my previous build thread, you know I like simplicity in plumbing and layout. The way the fresh water input design layered on top of my existing flow design worked nicely in keeping things simple. Since I was automating all the fresh water inputs, I figured I might as well automate the waste water outputs as well. The plate chiller water output plus the addition of two automated ball valves gives me the ability to dump all waste liquids through a simple manifold that runs right under the pump area. The end of the brew rig has quick disconnects for attaching the natural gas, fresh water input and waste water output. I have included a Visio diagram that shows the basic liquid flows.
For those that don't know, Brewers Hardware is in Huntington Beach where I'm located, so it made it real easy to drop in there every time I needed some parts. Because the guys there are not only awesome, but they're also part of our local homebrew club Brewcommune , I tried hard to get most of my parts from them unless it was something that they didn't carry. Brewers Hardware supplied stand/frame, kettles, burners, pumps, tri clover fittings, temp probes, BCS's, M12 cables and many of the compression and threaded fittings. Solenoid & ball valves were Valves4Projects. Plate chiller is Dudadiesel. The DIN rails and DIN components were from EbrewSupply and a lot of the little parts were sourced from ebay.
(Most of these pictures were a little rushed, so I'll be updating them with some clearer versions to better show the details of the plumbing).
